
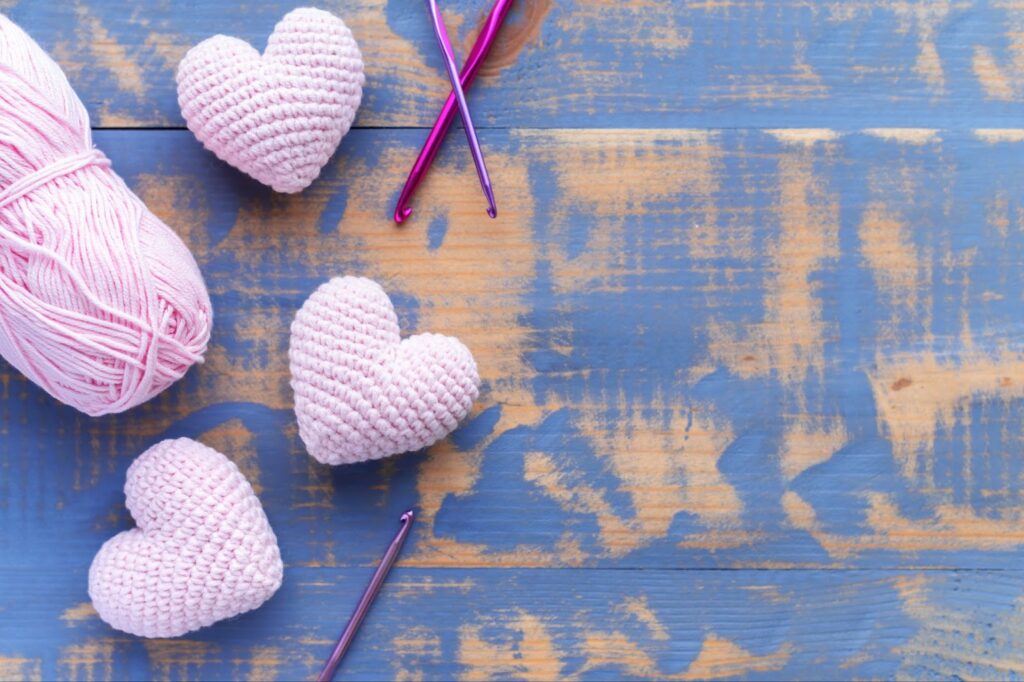
Creating a Heart Shape with Your Knitting Needles
Are you interested in mastering the art of knitting a heart-shaped design? Perhaps you have a special someone in mind to gift this universal symbol of love, or you simply wish to adorn your creative projects with it. If so, you’ve come to the ideal place, as I am here to guide you through the process step by step.
You can easily follow along with my detailed instructions and even refer to my instructional video to ensure that you achieve the flawless heart shape you desire, even if you are a complete novice in the world of knitting. Furthermore, I offer the option to print out the pattern for your convenience if you prefer a physical copy.
However, it’s important to note that creating a heart shape involves a slightly more intricate approach than the basic knit stitch. In addition to the fundamentals, you’ll need to familiarize yourself with the following techniques:
If you’re not yet proficient in these techniques, I recommend reviewing my tutorials or exploring my free knitting school resources to master the art of increasing and decreasing stitches. These skills will open up a world of exciting knitting patterns, making the investment of your time truly worthwhile.
While this particular knitting pattern is beginner-friendly, I assume it may not be your very first knitting project. If you are new to reading knitting patterns, I’ve included a brief tutorial to help you navigate them. However, if you are already an experienced knitter, you may want to explore my perfect love heart knitting pattern instead.
Now, without further ado, let’s dive right into this delightful knitting adventure, shall we?
Knit Your Way to a Heart: A Detailed Guide
Creating a knitted heart involves the perfect blend of skill, patience, and creativity. This particular pattern is knit flat, divided into two distinct parts—each representing a lobe of the heart. The garter stitch pattern used does not curl at the edges, ensuring a flawless finish and structure for your knitted heart.
Meticulously joining both lobes with a seamless technique is vital, as it helps to maintain the shape. The design further narrows down to a defined, pointed bottom, accurately representing the anatomy of a heart.
Using a relatively smaller sized needle is recommended, as it balances with the weight of your yarn, ensuring a crisp and neat stitch definition.
Estimated Time Requirement
- Preparation Time: Approximately 5 minutes;
- Active Engagement Time: Approximately 25 minutes;
- Aggregate Time: Approximately 30 minutes.
Necessary Materials
- Yarn: The choice of yarn is flexible, depending on your preference. For this tutorial, Schachenmayr Catania Grande is the yarn of choice for its superior quality.
Essential Tools
- Knitting Needle: The size of the needle should be proportional to the weight of your yarn. For this guide, Knitter’s Pride Bamboo needles of size 4/3.5mm are used;
- Tapestry Needle: A tapestry needle will be used for joining the pieces together;
- Scissors: Essential for cutting off extra yarn ends.
With these guidelines at hand, crafting a knitted heart will no longer be a daunting task. It’s time to let the symphony of your knitting needles create a masterpiece.
Detailed Process of Crafting a Knitted Heart
Our journey into learning how to knit a heart begins with the creation of the left lobe.
Crafting the Left Lobe
- The Initial Cast On: The process kicks off by casting on 3 stitches, utilizing the longtail method. A 6-inch yarn tail should be left for securing purposes later on;
- Row Formation: This stage comprises the creation of several rows.
- Row 1: Knit all 3 stitches (k3);
- Row 2: Knit the first two stitches and then, knit into the front and back of the next stitch (k2, kfb). This will add an extra stitch to your row, giving you a total of 4 stitches;
- Row 3: Knit 3 stitches, then increase one stitch using the kfb method. This leaves you with 5 stitches in total;
- Row 4: Start by knitting 4 stitches, and then increase one by kfb. This gives a total of 6 stitches for this row;
- Row 5: Follow the same pattern, but this time, initially knit the first 5 stitches then increase one by kfb, which makes a total of 7 stitches;
- Row 6: This row involves simply knitting all 7 stitches (k7).
- Closing the Left Lobe: Cut the working yarn, ensuring another 6-inch tail is left.
Shaping the Right Lobe on the Same Needle
- Positioning the Left Lobe: Slide the left lobe to the center of the needle. This makes room for the creation of the right lobe;
- Initial Cast On: Similar to the first step of creating the left lobe, begin by casting on 3 new stitches;
- Row Formation: Follow the same method for creating rows as for the left lobe. This involves repeating rows 1 to 6, identical to before;
- Finishing Touch: Unlike the left lobe, refrain from cutting the yarn after the completion of the right lobe.
Keep practicing these steps and soon, creating a knitted heart will feel like second nature. Enjoy the process, as every stitch gets you closer to completing your own handcrafted masterpiece.
Joining the Two Halves: Creating a Single Heart
While knitting a heart, uniting the two lobes is a crucial step that should be performed carefully. The seventh row plays a pivotal role in this respect.
- Row 7: This is where the knitting magic takes place—uniting the lobes that represent the two halves of your soon-to-be heart. The pattern for this step involves knitting 6 stitches, then a ‘knit two together’ stitch, followed again by knitting 6 stitches (k6, k2tog, k6). This results in a total of 13 stitches.
- Row 8-11: Through these rows, the aim is to knit all stitches.
While performing the ‘knit two together’ step, a fantastic tip is to be gentle and not overstretch the two stitches you’re knitting. Take your time and ensure you’re holding the tail as you carry out the ‘k2tog’ step.
Decreasing Towards the Bottom: Shaping Your Heart
Proceeding further, the next step is to develop a tapering point at the bottom, similar to an actual heart.
- Row 12- 21: The pattern for these rows involves knitting a decreasing number of stitches followed by a ‘knit two together’ stitch. For example, Row 12 follows k11, k2tog pattern, leaving 12 stitches. Row 13 follows k10, k2tog, leaving 11 stitches. Follow this pattern through to Row 21, which follows k2, k2tog, leaving 3 stitches;
- Row 22: This final row involves knitting all three stitches (k3).
Upon completing Row 22, leave around 6-8 inches of yarn tail. Thread this on a tapestry needle and pull through the final three stitches, dropping them off the needle as you proceed.
As an alternative for the final stitch, consider doing a ‘knit three together centered’ stitch. This could yield a slightly neater tip, giving your knitted heart a well-defined, sharp structure.
With these steps, you’re on your way to crafting a perfect heart, encasing the essence of love in every stitch. Enjoy the process as your knitting needles dance to the rhythm of your heart. Also, discover the enchanting world of magic knot knitting – a seamless technique for endless creativity and flawless joins in your projects!
Achieving the Final Touch: Weaving in the Tails
Ending up with four tails hanging from your knitted heart is perfectly normal and expected. These four tails need to be carefully woven in to provide a seamless finish.
- Reversible Heart: If a reversible knitted heart is your aim, you should attempt weaving the ends through the edges. It requires a little more effort but the end product is worth it;
- One-sided Heart: For those content with having one neat side, the standard method of weaving in should suffice.
After weaving the tails, it is recommended to block the heart in order to balance out the stitches. Blocking helps in shaping the final product and enhances the overall appearance of your knitted heart.
Useful Tips and Recommendations
Creating the perfect heart shape with knitting may require some practice, but don’t fret! The challenge lies not in the complexity of the pattern but in knitting two parts and managing four tails for a refined finish. It’s important to remember that every stitch counts, especially while performing increases and decreases. Here are some tips to keep in mind:
- Take it slow: Enjoy the process and don’t rush through the steps. Each stitch should be calculated and deliberate;
- Use Fuzzy Wool: For beginners, it might help to opt for slightly fuzzy wool. This type of wool is forgiving to small mistakes and makes weaving in the ends less visible, thus easier for a beginner;
- Consider Consistent Increases and Decreases: While some tutorials might suggest spacing out the increases and decreases every two rows, it is not recommended. Increases and decreases in knitting have a natural slant which is best maintained on their corresponding side. Additionally, consistently ending a row with either a ‘knit front and back’ (kfb) or a ‘knit two together’ (k2tog) reduces the chance of accidentally missing a row.
Remember, knitting is not just about the end product, but also about the journey. Cherish the creation process and the unique masterpiece that comes out of it — a knitted heart infused with love.
Conclusion
Once you grasp the fundamentals, I entrust you with the freedom to explore your creativity. Feel free to experiment with the yarn weight and needle size. For instance, by using worsted yarn and size 6 needles, you can fashion a charming Valentine’s Day coaster.
If you desire larger hearts, it’s a simple matter of maintaining an equal balance of increases and decreases within the pattern. Instead of working with 7 stitches, consider elevating it to 9 stitches, knit 5 rows at the center, and then employ the same reduction method (always knit 2 together as the last stitch) towards the apex. This approach allows for crafting diverse items like heart-shaped dishcloths and more.
One crucial point to keep in mind is that altering the knitting stitch pattern isn’t advisable. This isn’t solely due to some patterns having a tendency to curl at the edges, but primarily because it could necessitate a different count of initial cast-on stitches and varied knitting increases. While Kfb proves effective for gathering stitches, it may become conspicuously noticeable when applied to other patterns.
In any case, this serves as your guide to creating a heart shape through knitting. Please don’t hesitate to leave a comment below if you have any questions.