
Master the Art of Magic Knot Knitting
Embarking on the journey of connecting a fresh skein of yarn can sometimes feel like a rather cumbersome task. After all, who truly relishes the prospect of meticulously weaving in numerous loose ends at a later stage? Nevertheless, a straightforward solution exists to circumvent this predicament. Within the realm of knitting, there lies an alternative: the magical knot, also recognized as the fisherman’s knot, offers an expedient method for joining yarn.
This technique’s simplicity and swiftness are so remarkable that one might deem it nearly infallible. Essentially, it entails the act of cinching together two uncomplicated overhand knots in close proximity. Its adaptability extends across a broad spectrum of fibers and yarns, rendering it an exceedingly versatile means of uniting yarn, in stark contrast to the less universal spit splice method.
Nonetheless, a minuscule knot will inevitably make its presence felt. In some instances, this knot may manifest as a slight blemish within your final creation. Yet, when employing slightly textured or fuzzy yarn, maintaining a relaxed tension, or working on a knitting stitch pattern with subtle variations, such as the garter stitch, this technique assumes an exquisite allure. Alternatively, for situations demanding a seamless result, consider experimenting with the Russian join method.
Shall we delve into the intricacies of this technique without further ado?
The Art of Tying a Magic Knot in Knitting: A Step-by-Step Guide
In knitting, one critical skill that comes in handy is the ability to tie a magic knot. Not only does this skill help you seamlessly join new yarn with old, but it also enhances the overall attractiveness and durability of your knitting project. Here, we provide an in-depth, easy-to-follow guide on how to tie a magic knot in knitting, helping you master this technique in no time.
For a successful magic knot tie, you should ideally have a yarn tail of approximately 5 inches. This length allows for easier handling and prevents your yarn from running out mid-knot. The method involves tying an overhand knot using the tail end of one yarn around the other yarn’s tail end.
Time Required
- Active Time: Approximately 5 minutes;
- Total Time: Roughly 5 minutes.
This quick and seamless process adds very little to your knitting time, making it an efficient method of joining yarns.
Materials and Tools Needed
Choosing the right materials and tools for your magic knot tie can significantly impact the outcome. Here’s a list of what you’ll need:
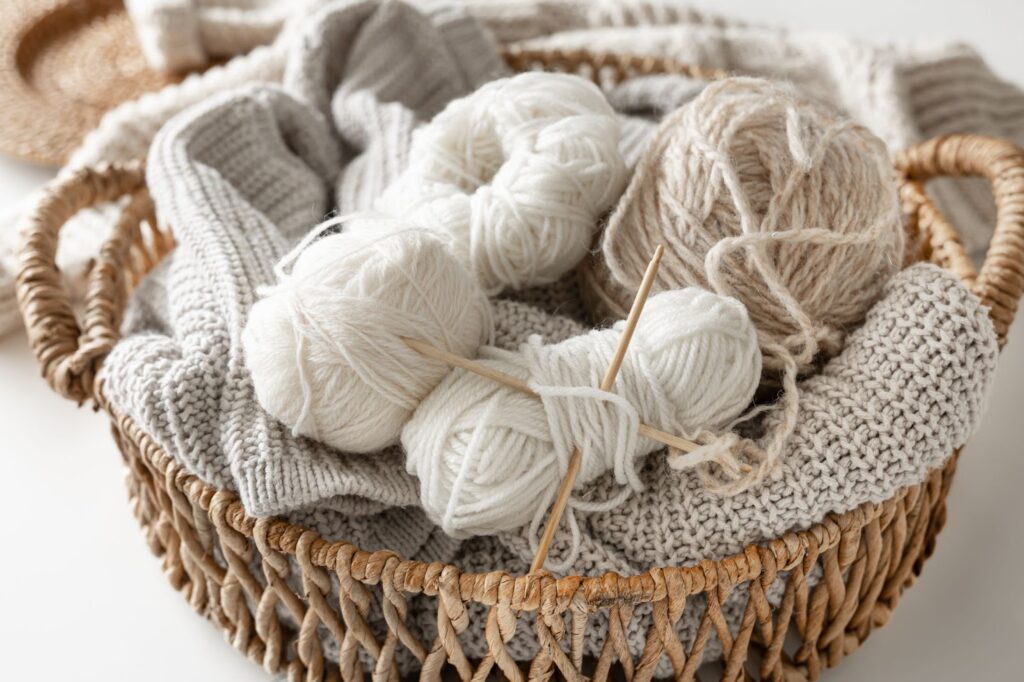
- Yarn: Any type of yarn works well for this method. However, for the purpose of this tutorial, we’re using the Schachenmayr Catania Grande due to its excellent texture and durability;
- Knitting Needles: You’re free to use any knitting needles you’re comfortable with. We’re using the Knitter’s Pride Dreamz in this guide, known for their user-friendly design and smooth surface;
- A Pair of Scissors: An often-overlooked yet essential tool. A pair of sharp, good quality scissors will ensure clean cuts, keeping your yarn ends neat and tidy.
In the sections to follow, we’ll dive deeper into each step of the process, offering handy tips and insights to guide you through. Keep your materials ready and let’s get started! Read about the magic of knit and purl stitches in this crafting adventure. Unleash your creativity with these versatile techniques today!
Mastering the Magic Knot: Step-by-Step Instructions
Arranging the Yarns
Begin by positioning the two yarn strands you wish to combine, ensuring that their respective ends point in contrasting directions. This visual arrangement makes it significantly easier to distinguish between the two strands and their tails.
Creating the Overhand Knot
Once the yarns are correctly positioned, proceed by picking the tail of the yarn on the left and gently laying it over the strand on the right. Afterward, carefully tuck the same tail under the right yarn, smoothly pulling it through the other side.
Loop Formation and Knot Completion
Following this, bring the tail over the standing end of the yarn on the right to create a loop. The loop should be tight and secure, with the standing end of the yarn held firmly in place. Subsequently, pull the same tail through this loop from below.
At this stage, you must ensure that the yarn from the left (which you’ve been working on) has an overhand knot wrapped around the yarn on the right. Then, delicately but firmly pull on the standing end of the yarn to secure your knot.
Repeat For the Opposite Yarn
Once you’ve completed the first overhand knot, repeat the same process with the yarn tail on the right. This time, the knot should go around the left strand.
Pull tightly on both ends of your magic knot to ensure the knots come together. Cut off the excess tail on both sides, leaving a seamless joint.
There you have it, a secure, sturdy magic knot that can withstand the test of time and use, enhancing the beauty and durability of your knitwork.
Magic Knot Knitting Technique: Detailed Steps and Precautions
Delving into the creation of the magic knot, the second part involves the remaining tail. But before proceeding, it’s important to emphasize that consistency and precision are key factors in achieving an effective, secure knot.
Steps to Follow
- Begin by taking the second yarn tail, placing it over the first to form an ‘X’. This acts as a mirror image of the first step, providing symmetry to your knot;
- Continue by pulling this tail under the first yarn strand;
- Subsequently, create another loop by placing this tail over the standing end of the yarn;
- Pull the tail through that loop from below and make sure to pull it tight. This marks the completion of your second overhand knot.
With both knots complete, the final steps involve bringing the knots together to form the magic knot. Do this by holding the standing ends of the yarn in each hand (not the tails) and pull until the knots meet. You’ll notice both overhand knots sliding towards each other and coming together in the middle. Once they meet, give a good tug to secure your magic knot tightly in place.
The last step is to trim the loose ends using a sharp, clean pair of scissors. Cutting as close as possible to the knot ensures a seamless join, without any noticeable traces of your knot.
Additional Notes and Tips
An easy way to remember this process is to make a mantra: ‘Over and under, then repeat.’ By maintaining this order, your knots will line up correctly, providing maximum strength.
Maintaining parallel knots is crucial for the sturdiness of the magic knot. If the knots face opposite directions or are uneven, it could compromise the knot’s integrity and may cause it to unravel during use.
With this guide in your knitting toolkit, you’re now equipped to continue knitting without worry when one yarn ends—simply join with another using the magic knot technique and knit away to your heart’s content!
Conclusion
Although the technique is remarkably uncomplicated, regrettably, it doesn’t effectively serve colorwork methodologies that necessitate precise color transitions at specific stitches. The challenge lies in tying the magic knot precisely in the desired position, particularly when dealing with intricate colorwork techniques such as intarsia or double knitting. Apart from these situations, it is a versatile method suitable for nearly any other crafting project, provided you can tolerate the presence of a small knot.
Please be mindful that knots have the potential to unravel over time, especially when dealing with extremely slippery yarns that lack felting properties. In such instances, I would advise opting for a more conventional approach when introducing a new yarn into your work.