Create a Beautiful Knit Triangle Shawl with this Pattern
Are you interested in crafting a beautiful shawl to keep yourself cozy during a chilly evening or perhaps something extravagant for a special event, but you lack the necessary knowledge? Worry not, for this comprehensive tutorial provides all the information you could ever require and much more. To begin, I will demonstrate the simplest method for knitting a shawl, followed by an exploration of eight additional techniques.
It’s important to note that knitting preferences vary, and there isn’t a single definitive approach to creating a shawl. Furthermore, not all shawls need to incorporate lace patterns. If you choose a delightful color scheme, a basic garter stitch shawl can appear remarkably captivating and can be completed quickly and effortlessly. Therefore, there’s no need to feel daunted by the process.
Let’s delve right into the world of shawl knitting, where I will present you with a comprehensive overview of the most commonly used patterns. Additionally, do not forget to explore my latest shawl pattern, specially crafted for beginners and individuals who rely on written instructions.
Creating a Stunning Triangular Shawl: A Comprehensive Guide
Knitting a shawl may seem like a complex endeavor, but in reality, you only need to master two simple stitches: the basic knit stitch and the yarn over technique. With these foundational skills, you can embark on a delightful journey to craft a beautiful triangular shawl. This guide will not only walk you through the process but also offer additional insights and creative variations to elevate your shawl game.
Materials and Tools:
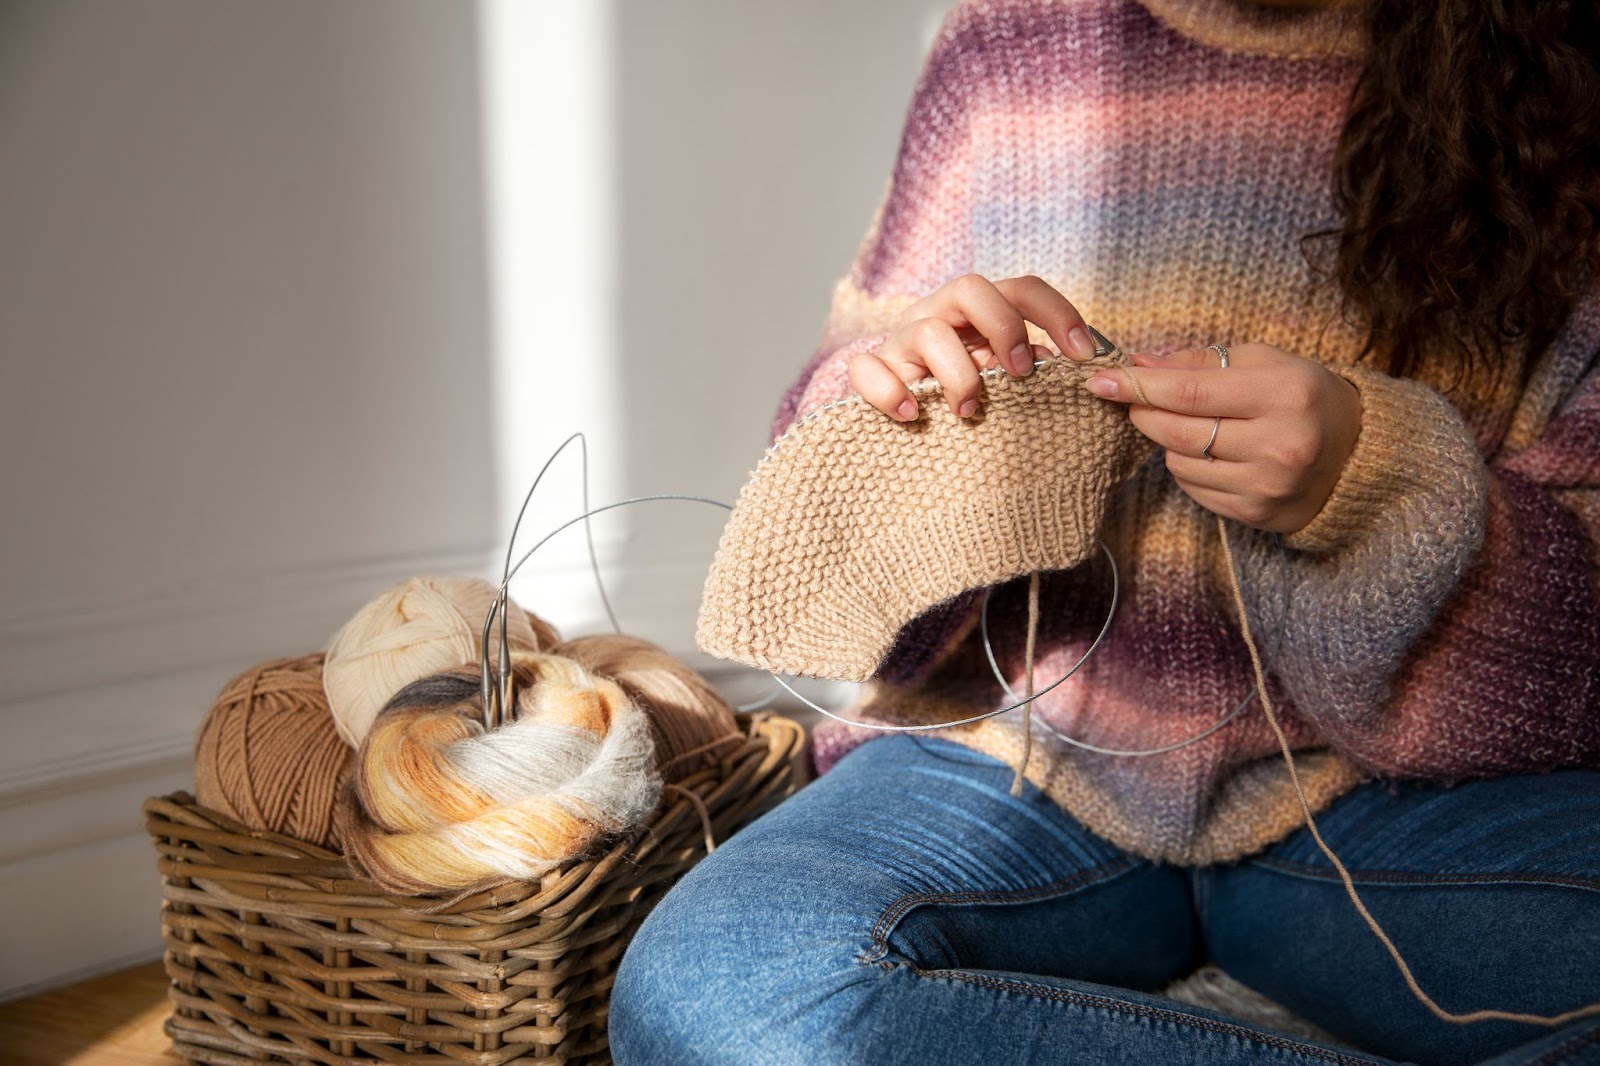
Before we dive into the knitting process, let’s ensure you have the right materials and tools at your disposal. For this tutorial, any yarn of your choice will suffice. In this demonstration, we’re using the Schachenmayr Catania Grande. Additionally, you’ll need circular knitting needles with a long cord. While double-pointed needles can be used for demonstration purposes, they may not be the ideal choice for your project.
Instructions:
- Casting On (CO): To kickstart your shawl, begin by casting on three stitches using the longtail cast-on method. This forms the foundation for your knitting adventure;
- Getting Started: Turn your work around and knit across all three stitches. This initial row will serve as your wrong side;
- Building the Base: Now, it’s time to add some flair to your shawl. Turn your work around again and follow this pattern: knit one stitch, yarn over, knit one stitch, yarn over, and knit one more stitch. This sequence will give you a total of 5 stitches;
- Alternate Rows: To maintain the integrity of your shawl, continue with the following two-row sequence:
- Wrong Side (WS): Knit across all stitches;
- Right Side (RS): Begin with knitting one stitch, then yarn over, knit across, add another yarn over before the last stitch, and finally, knit that last stitch. This will increase your stitch count to 7;
- Repeat and Expand: Keep repeating rows 4 and 5 until your shawl reaches your desired length. The simplicity of this pattern allows you to customize the size according to your preferences;
- Binding Off: Once you’re satisfied with the size, bind off your shawl loosely. You can achieve this by using a needle one or two sizes larger than your knitting needles or by opting for a stretchy bind-off method of your choice;
- Blocking: After binding off, it’s crucial to block your finished shawl. This step is essential to make your shawl look its best. Blocking helps smooth out any irregularities and enhances the overall appearance.
Enhancing Your Shawl
For those who crave a more polished edge and wish to experiment with different stitch patterns, here are some creative ideas to consider:
Introduce a Selvage Stitch:
Adding a selvage stitch can provide a neater edge. To do this, modify the pattern as follows:
Cast on 3 stitches.
- Row 1 (RS): Slip 1 purlwise with yarn in front (sl1p wyif), knit 2;
- Row 2 (WS): Sl1p wyif, yarn over, knit 1, yarn over, knit 1;
- WS: Sl1p wyif, knit across;
- RS: Sl1p wyif, knit 1, yarn over, knit across, yarn over, knit 1.
Customize Your Increases:
Feel free to swap out yarn overs for other increase methods, such as kfb (knit front and back) or a backward loop increase. Choose the one that suits your preference or complements your chosen stitch pattern.
Exploring Border Options:
If you want to add a border to your shawl, consider this approach:
- Transition Triangle: Begin with a transition triangle at the start of your project. Here’s a step-by-step breakdown:
- CO 3 stitches;
- Row 1: Knit 3;
- Row 2: Knit 1, yarn over, knit 1, yarn over, knit 1;
- Row 3: Knit 5;
- Row 4: Knit 2, yarn over, knit 1, yarn over, knit 2;
- Row 5: Knit 7;
- Row 6: Knit 3, yarn over, knit 1, yarn over, knit 3;
- Row 7: Knit 9.
- Incorporate Borders: Transition from the initial triangle to the main shawl pattern while knitting your border stitches before the yarn overs.
By following these steps, you can create intricate borders that enhance the overall aesthetics of your shawl.
Crafting a Stylish Top-Down Triangle Shawl with Decreases
While we’ve previously explored shawl construction through increases, a world of creativity awaits those who choose to employ decreases. By initiating your project at the outer edge and casting on a substantial number of stitches, you can create a shawl with a distinct look and feel, all while maintaining the same classic shape.
Key Features and Tips:
- Starting Point: Begin by casting on an even number of stitches, ensuring the quantity matches your desired shawl width. Opt for a stretchy cast-on method or cast on around two needles for added flexibility;
- Decreasing Elegance: This approach involves working decreases into your pattern for a cleaner appearance;
- Pattern Sequence: Follow this sequence;
- Wrong Side: Knit 1, Slip, Slip, Knit (SSK), knit across in your chosen pattern, Knit 2 Together (K2tog), knit 1;
- Right Side: Knit across following your pattern;
- Finishing Touch: On the final row, execute a SSK followed by a K2tog to complete your creation;
- Size Consideration: Keep in mind that while decreases create a neater look, they also determine your shawl’s final size based on your initial cast-on. Unlike knitting bottom-up, where you can adjust the size at your discretion, top-down knitting requires careful consideration of your starting stitch count.
Transform Your Knitting Experience with the Classic Top-Down Triangular Shawl
Embark on a delightful knitting journey with the classic top-down triangular shawl, an essential project for knitting aficionados who relish the challenge and beauty of incorporating stripes and diverse textures. This project, although it might seem complex at first glance, unfolds into a mesmerizing creation, stitch by stitch, as you witness the evolution of your handiwork.
Essential Features and Expert Advice:
- Dual Triangle Formation: This shawl is crafted by knitting two triangles in parallel. This innovative approach elegantly extends the shawl’s edge, offering a visually stunning result;
- Commencing the Project: Your adventure begins with just three stitches on your needle, setting the stage for the shawl’s expansion.
Pattern Guide for Beginners:
- Row 1 (WS): Knit all stitches;
- Row 2 (RS): K1, YO, K1, YO, K1 (5 sts);
- Row 3: Knit all;
- Row 4: K1, YO, K1, YO, K1, YO, K1, YO, K1 (9 sts).
Pattern Repetition Techniques:
- On Wrong Side (WS): Knit all stitches;
- On Right Side (RS): K1, YO, knit to one stitch before center, YO, K1, YO, knit to one stitch before the edge, YO, K1;
- Edge Considerations: To avoid edge curling, initiate your shawl with a garter stitch tab cast-on, especially when incorporating a border or selvage stitch. This small yet impactful technique ensures a smooth, elegant finish to your shawl.
Reversible Shawl Magic: The Bottom-Up Twist
Have you ever thought about flipping the script on a classic triangular shawl? The reverse bottom-up shawl is your ticket to exploring shawl design from a different perspective. By inverting the basic triangular shape and crafting it in the opposite direction, you can create a unique and eye-catching piece. This twist offers an opportunity to experiment with decorative elements, such as a striking central ridge achieved with a centered double decrease.
How to Create Your Reverse Bottom-Up Shawl:
- Start with a Cast-On: Begin by casting on an odd number of stitches using your preferred stretchy cast-on technique. This shawl is all about versatility, so feel free to choose the cast-on method that suits your style best;
- Knitting Magic:
- Wrong Side (WS): Start by knitting in pattern. This is your canvas, and you can choose any stitch pattern you desire;
- Right Side (RS): Begin with a knit stitch (k1), followed by a slip, slip, knit (SSK). Continue knitting in pattern until you’re just one stitch away from the center. Now, execute the show-stopping centered double decrease (CDD). Then, knit in pattern until you’re three stitches from the edge. Finish this row with a knit two together (k2tog) and a final knit stitch (k1);
- Final Touches: On the last WS row, perform a knit one (k1) followed by a knit three together (k3tog) and another knit one (k1).
Wrap up your masterpiece with the last RS row, simply knitting three together (k3tog).
Pro Tip: If you decide to add a border or selvage stitch to your project (for example, starting your rows with “sl1p wyib, k3, SSK…”), remember to bind off the last few stitches to ensure a tidy transition and a perfectly straight edge.
Wingspan Shawl: A Cozy Embrace
For those looking to knit a shawl that envelops your shoulders with warmth and style, the wingspan shawl is a marvelous alternative. This pattern creates a shawl that fits snugly around your shoulders, making it ideal for chilly evenings or fashionable layering. Here’s how you can spread your wings and knit this beautiful piece:
The Wingspan Shawl Recipe:
- Start Small: Begin with a cast-on of just three stitches. It’s a humble beginning that will soon transform into a graceful, wide shawl.
- Creating the Magic:
- Row 1 (Right Side): Knit into the front and back (kfb) of the first stitch, knit one (k1), then kfb into the last stitch;
- Row 2 (Right Side): Knit two (k2), perform a yarn over (yo), knit one (k1), another yarn over (yo), and finish with two more knit stitches (k2);
- Wrong Side (WS): Knit one (k1), kfb, continue knitting in pattern, kfb, and knit one (k1);
- Right Side (RS): Start with a knit one (k1), kfb, then knit in pattern until you’re one stitch away from the center. Add a yarn over (yo), knit one (k1), another yarn over (yo), continue knitting in pattern, kfb, and finish with a knit one (k1);
- Variation Alert: Instead of using a (yo, k1, yo) to increase the center, you can experiment with your preferred double-increase technique. However, keep in mind that for the edges, you should opt for an increase that can be consistently placed in every row. Yarnovers might appear too loose, so consider techniques like M1R & M1L or KLL & KRL for a snug fit;
- Stay Cozy, Stay Stylish: The wingspan shawl is not only functional but also fashionable. Choose your favorite yarn color and stitch pattern to create a unique piece that complements your wardrobe beautifully. Whether you’re crafting it for yourself or as a thoughtful gift, this shoulder-hugging shawl is sure to be a hit.
The Versatile Five-Point Shawl
When it comes to shawl construction, one fascinating option is the versatile five-point shawl, also known as the crescent shawl. Unlike traditional shawls, the five-point shawl offers a unique design that drapes gracefully over your shoulders, resembling a cardigan or poncho. This pattern uses six increases per row (sometimes even eight), but it arranges them strategically to achieve its distinctive shape. Here’s how you can knit it:
Instructions:
- Cast On: Begin by casting on 5 stitches;
- Row 1 (Right Side): Knit in your desired pattern;
- Row 2 (Right Side): K1, [yo, k1, place a stitch marker] 3 times, k1;
- Wrong Side: Continue knitting in your pattern;
- Right Side: Knit in your pattern up to 1 stitch before the first marker, yo, k1, slip marker, yo, knit to 1 stitch before the 2nd marker, yo, k1, slip marker, yo, knit to 1 stitch before the 3rd marker, yo, k1, slip marker, yo, and then knit in pattern until the end of the row.
Tips and Enhancements:
- Consider using a garter stitch tab cast-on to add a lovely edge to your shawl;
- Experiment with different yarn weights and textures to create unique variations of the five-point shawl;
- Play with color gradients or stripes to add visual interest to your design;
- Add fringe or tassels to the shawl’s edges for a touch of whimsy.
This five-point shawl offers endless possibilities for personalization. Whether you’re a seasoned knitter or just starting out, this pattern will inspire your creativity and keep you cozy in style.
Embrace the Faroese Shawl Tradition
Imagine wrapping yourself in the knitting traditions of the stunning Faroe Islands, a picturesque archipelago nestled in the North Atlantic Ocean and closely associated with Denmark. The Faroese people have a rich knitting heritage, and their shawls are a prominent feature of their culture. Here’s a simple introduction to creating a Faroese-inspired shawl:
Instructions:
- Garter Stitch Tab Cast-On: Begin by casting on 2 stitches and knitting 10 rows in garter stitch;
- Pick Up Stitches: Knit across the tab and pick up 5 stitches from the center and 2 more from the other edge;
- Right Side (RS): K1, yo, knit up to the start of the tab, yo, place a marker, knit to the end of the tab, place a marker, yo, knit across, yo, k1.
- Wrong Side (WS): Continue knitting in your chosen pattern.
Key Features of Faroese Shawls:
- Shallow Center: The garter stitch tab creates a shallow center, allowing the shawl to drape elegantly around your shoulders;
- Shrug-Like Fit: Faroese shawls are designed to be worn like a shrug, making them perfect for casual or formal occasions;
- Customization: Add beautiful tassels to the shawl’s edges for a touch of traditional flair;
- Gradual Widening: Experiment by gradually widening the central tab to increase the shawl’s versatility and wearability.
Embracing the Faroese shawl tradition not only connects you to a unique knitting heritage but also offers a fashionable and functional accessory that can complement your wardrobe in various ways. Whether you’re attending a special event or seeking a cozy layer for everyday use, this shawl style is a delightful choice. Also, elevate your style with exquisite hand-knit fingerless gloves – fashion meets function in these chic accessories!
Conclusion
In conclusion, embarking on the journey of knitting a shawl can be both rewarding and creatively fulfilling. Whether you opt for the simplicity of a garter stitch design or venture into more intricate lace patterns, the possibilities are as diverse as your imagination allows. This tutorial has equipped you with the knowledge and guidance needed to get started, and the eight additional methods presented offer further exploration for your knitting endeavors.
Remember that there is no one-size-fits-all approach to shawl knitting, so embrace the freedom to choose the techniques that resonate with you. Whether you are a novice or an experienced knitter, there is always room to explore and create something unique. Don’t hesitate to check out my latest shawl pattern, specifically tailored for beginners and those who appreciate detailed written instructions.
With these tools at your disposal, you are well-prepared to embark on a journey of creativity, warmth, and style through the art of shawl knitting. Enjoy the process and the beautiful shawls you will create along the way. Happy knitting!